TrakIT allows you to place containers in a container yard according to the standard bay, row, and tier system. But before you can do this, you must set up the yard correctly.
Setting Up the Yard
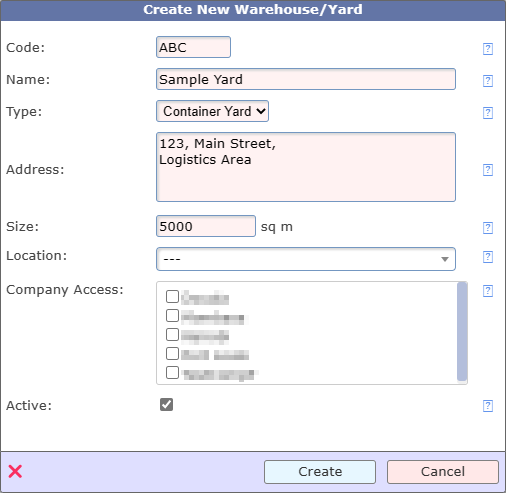
As the first step, the yard can be created via Admin > Masters > Warehouses & Yards. Click on the 'Create' button and enter the details for the yard. Make sure 'Container Yard' is selected as the type.
Once the Yard is created, select it to create one or more "Areas" within the Yard.
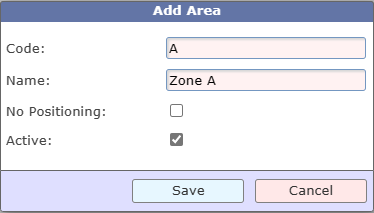
If there are areas where containers are just placed ad-hoc without the need for numbering the location, just select 'No Positioning' for the area. E.g. Stuffing/Un-stuffing Areas, Maintenance/Repair Areas, etc.
Once an area is created and selected, you will be able to define the structure of the area in terms of the number of bays, rows and tiers available in the area.

You may also select specific slots and disable the slots where containers can't be placed. Each slot is a twenty-foot slot where a 20' container can be placed. A 40' container will cover 2 adjacent slots.
Once the configuration is completed for all zones, you can place containers in the yard.
Placing Containers
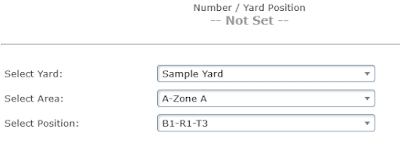
Placing a container in a yard is simply a matter of entering the position code of the container. The position of a container is designated as Zone-Bay-Row-Tier.
In the Work Order page with the container, open the WO menu and select Yard Position.
When a container is placed at a location, TrakIT will ensure that the location is valid according to certain rules:
- A 20' container must be placed on the ground or on top of a 20' container only
- A 40' container must be placed on the ground, on a 40' container, or on two adjacent 20' containers
Similarly, when removing a container, TrakIT ensures the container can only be removed if it is permissible to do so.
When a Work Order has a container that is placed in a yard, it is not possible to change the container number.
Reports for the complete container positioning can be created via Workflow, Advanced or Query Reports.
For any questions or clarifications, please contact TrakIT Support.